Getting started with Novatel
The following article will help you run the Novatel Control Centre for the first time and will walk you through the basic functionality to quickly start using the application.
Visit the link to your application provided by the Novatel Team and you will find the following website.

Click the ‘Start Control Centre’ button. This will download a jnlp file. Launching this file will start Novatel Control Centre application suite. If the application can’t start, you may need to install or upgrade your Java Runtime Environment. You can find more instruction regarding Java installation here: //support.novatel.co.uk/upgradejava/
The following is the recommended order for basic configuration. Some steps are optional and may not be required. For example, you can simply use the default ‘Standard’ routing plan rather than create other/more plans.
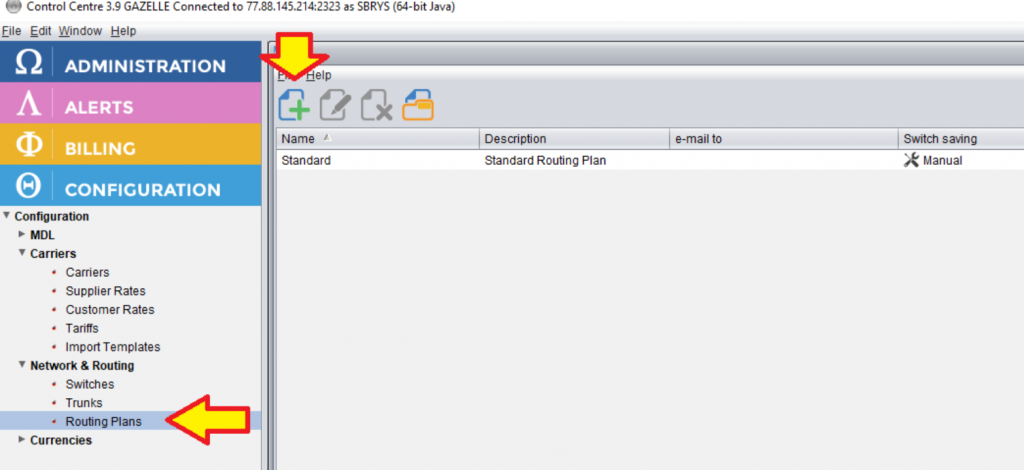
1) Create Routing Plan(s) and Routing Models – There is by default a standard Routing plan and Routing Model configured, and it is advised to use this to begin with.
Go to Configuration->Network&Routing->Routing Plans
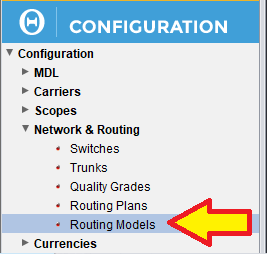
Create Routing Model(s) To learn more about Routing Models, read here //support.novatel.co.uk/routing-models-introduction/
Go to Configuration->Network&Routing->Routing Models
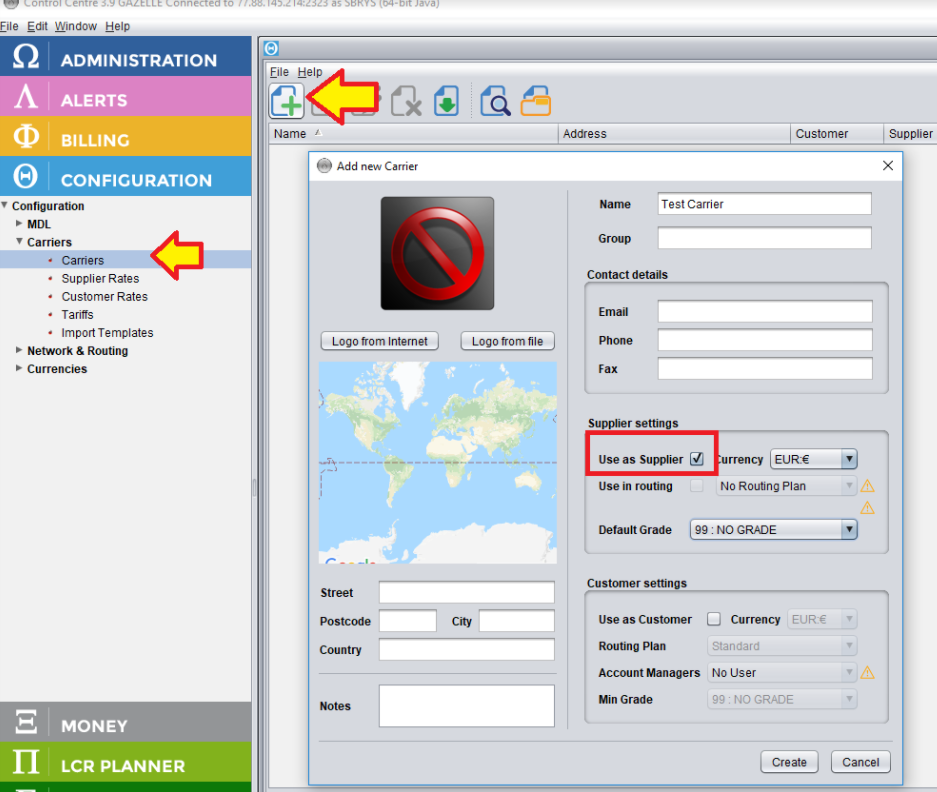
2) Create Suppliers – Suppliers are carriers which you will use in routing to route the traffic to.
Go to: Configuration->Carriers->Carriers
When creating a Supplier carrier, make sure you check the ‘Use as Supplier’ checkbox and select the currency you will import the rate sheet in.
To learn more about carrier creation, watch this video tutorial: //support.novatel.co.uk/carriers/
To learn more about currencies and exchange rates, read here: //support.novatel.co.uk/multicurrency-support-in-control-centre/
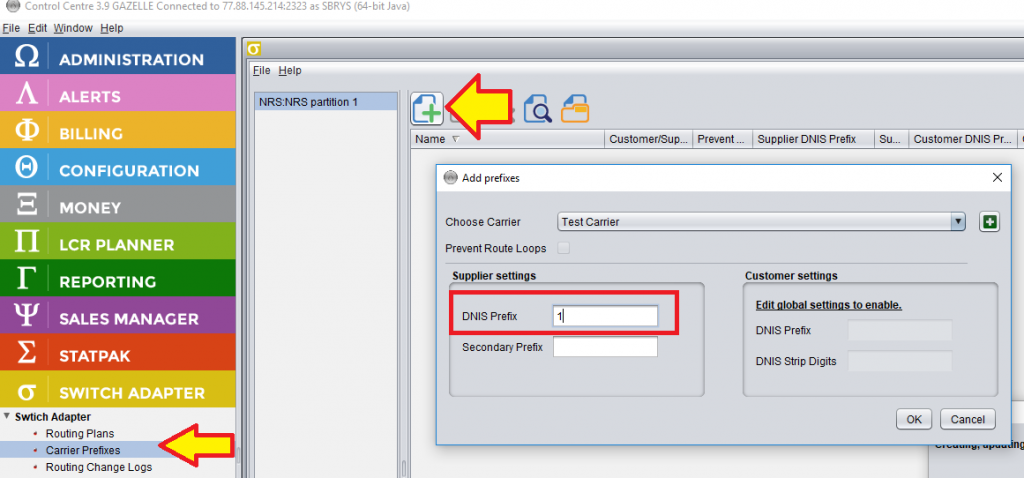
3) Configure Switch-related settings of the Suppliers. Even if you are not using Control Centre with an actual switch, the system still requires at least some provisional settings. Otherwise, it will complain of “not-fully-configured” Suppliers for routing in LCR Planner. Please go to
Switch Adapter->Carrier Prefixes and configure the DNIS Prefix for each supplier. You can just use 1,2,3 etc for each carrier if you are not integrating with a switch yet.
To learn more about Carrier Prefixes configuration, please watch this video: //support.novatel.co.uk/carrier-prfixes/
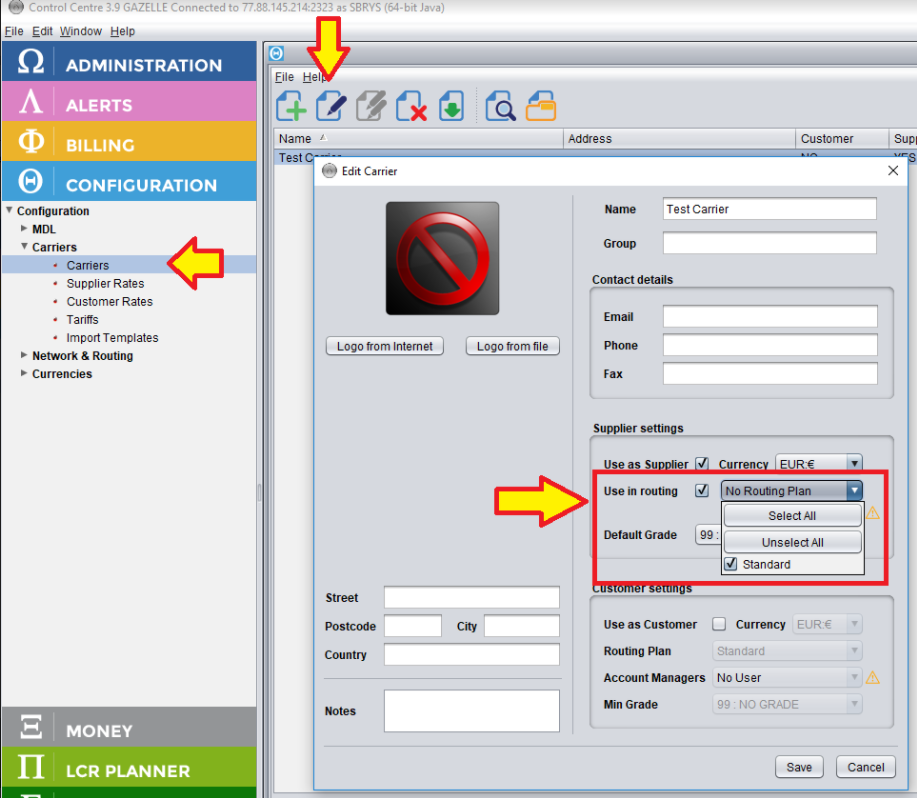
4) Go back to Configuration->Carrier->Carrier. Once the Supplier has the prefix configured, you can configure in which Routing Plans this supplier is allowed to take traffic. Edit the Supplier on Carriers screen and configure in which Routing Plan you want to use each Supplier.
Select Use in routing and select the Routing Plans to use.
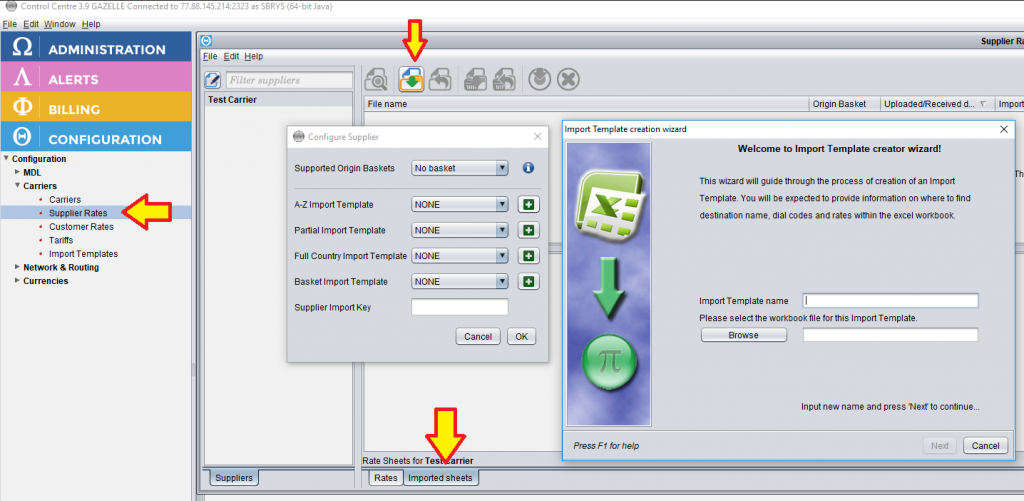
5) Import Supplier Rates
Go to Configuration->Carriers->Supplier Rates, select the ‘Imported sheets’ tab at the bottom, and push ‘Import sheet’ button.
The following videos will be useful for this step: //support.novatel.co.uk/tag/import-template/
More information about rate sheet management and importing can be found here: //support.novatel.co.uk/rate-sheet-import-settings-2/
Control Centre also supports automatic rate sheet importing functionality which you can read about here: //support.novatel.co.uk/tag/automatic/
6) Wait for the Rate sheet to get imported. When you have imported rate sheets for all your Suppliers which you want in routing, after the rate sheets have been successfully imported, the automatic routing analysis and calculations are performed. If you go to Administration->Controllers->Routing Generator you will be able to monitor the progress of this process. Only when it shows Effective in Routing for all suppliers, should you go on to the next step.
This video should explain this step: //support.novatel.co.uk/routing-generator-controller/
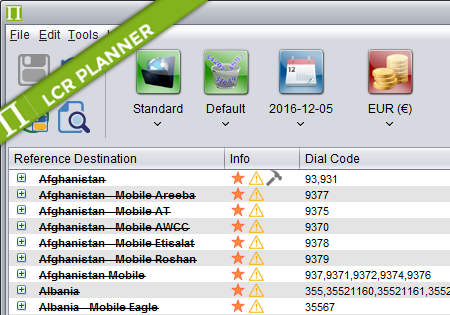
7) Go to LCR Planner and see your routing
This video shows the basics of LCR Planner usage: //support.novatel.co.uk/routing-plans-introduction/
These videos talk about more advanced features: //support.novatel.co.uk/category/lcr-planner/
You can export the routing by right-clicking in the table and selecting export options or by pushing ‘Email plan’ button on the main top toolbar.
8) Customers and their rates.
Carriers which are customers can be created in the same way as you created your Suppliers. Note that a carrier can be both a Customer and a Supplier. Likewise, you can import customer rate sheets in much the same ways as you did for Suppliers, other than going to the ‘Customer Rates’ screen instead.
This is required if Control Centre is to rate your calls to show revenue/profit statistics, generate invoices and reports and keep track of Customer Credit, used for blocking a Customers traffic when they run out of credit.
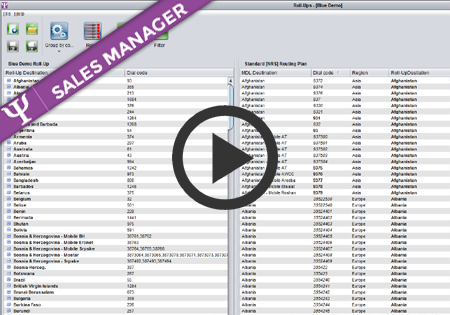
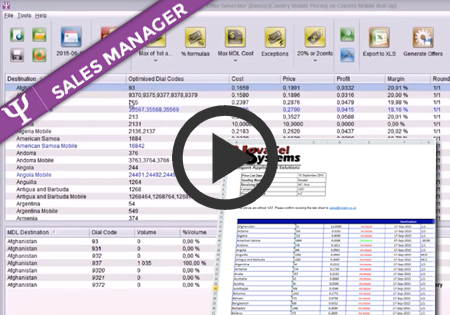
If you want Control Centre to produce offer sheets to your Customers, you can use the ‘Sales Manager’ module. Videos about Sales Manager can be found here: //support.novatel.co.uk/category/sales-manager/