Top-up authorisation in Credit Management
Credit Management in the Billing module now supports multi-level authorisation of top-ups (payments) for customers.
The authorisation mode in Control Centre can be configured system-wide to be either:
- turned off – in this mode any top-up performed will instantly increase the customer’s Credit Balance
- turned on – configured to require top-up authorisation. In top-up Authorization mode, there can be configured multiple levels of authorization required before a top-up becomes affective or just one level of authorization. Users can be configured at certain levels of authority for authorising top-up (or multiple-level for super-users). Only after the top-up has been authorised at all levels configured, will the customer’s Credit Balance be increased with the value of the top-up.
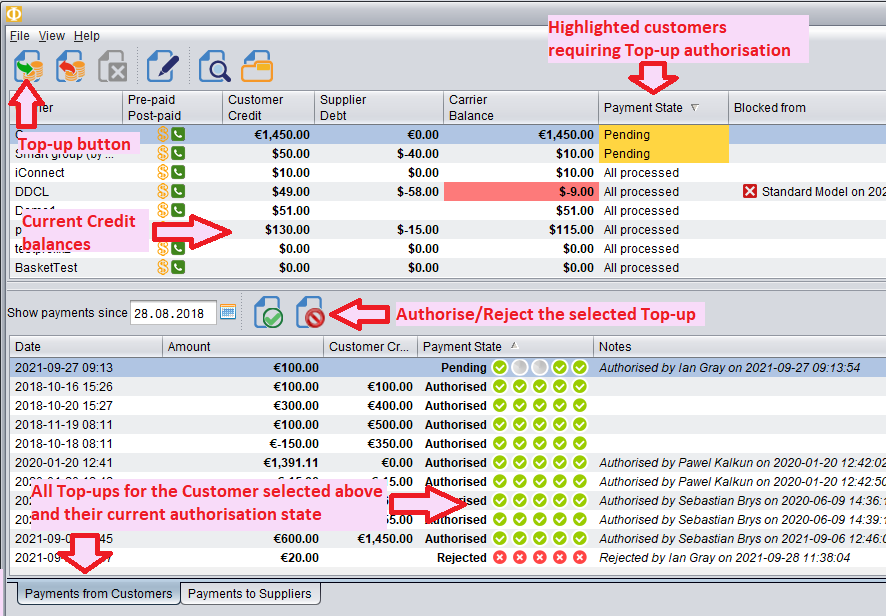
The Credit Management screen consists of two tables. The main one (the top one) shows all Customers with their current credit balances, the information whether the traffic is allowed or blocked, the traffic-blocking balance levels and whether the customers require Top-up authorisation.
When a Customer is clicked in the main table, the bottom table will show all Top-ups for the selected Customer, the date the top-up was made and their authorisation state. On this panel, the buttons for authorising/rejecting top-ups can be found.
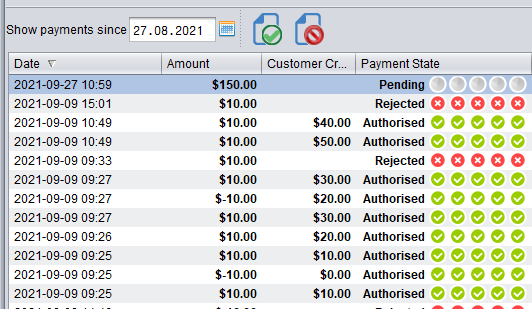
When working in the top-up authorisation mode, when you make a top-up, the payment is registered with a ‘Pending‘ state.

It will be displayed as ‘Pending‘ until receiving the full authorisation at all levels required.
In the main table, it highlights the ‘Payment status’ cell orange to quickly spot there are authorisations required.

TIP:
You can sort the main table by 'Payment status' to see the customer top-ups still requiring authorisation, at the top of the view.
You can also push the filter button to show only those customers requiring authorisation.
AUTHORISATION
When a user has privileges to authorise a top-up (payment), it will show the ‘Authorise Top-up‘ and ‘Reject Top-up‘ buttons enabled.
To authorise the payment, select the top-up and push the ‘Authorise‘ button.

The level at which the user has just authorised the top-up will now be shown in green. (the 1st icon = the 1st level, the 2nd icon = the 2nd level etc). The number of remaining authorisation levels is indicated by grey icons on the payment row in the ‘Payments from Customers’ table.

Once all grey icons turn green, the payment status will change to ‘Authorised‘ and the amount of the payment will be added to the Credit balance of the customer. The ‘Customer credit after authorisation‘ column will now show the value to which the balance was updated at the moment of the full authorisation.
The authorisations can be done in any order. However, the top-up amount will only increase the credit balance after collecting authorisations at all levels.
Re-authorising a top-up at a level at which it has already been authorized, has no impact.

Once a top-up is added for a customer or authorised at any level, all users with privileges to authorise the top-up at the next level will receive an email notification.
When a user has privileges to authorise top-ups at multiple levels (e.g. 3rd, 4th and 5th), they will receive email notification only for the highest level (5th in our example).

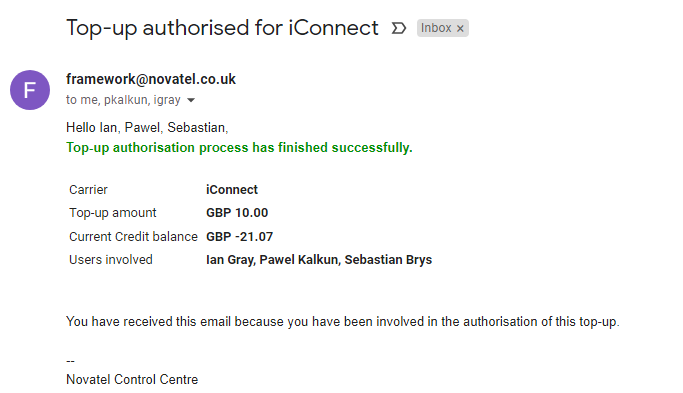
When the top-up has been fully authorised at all levels, all users involved in the process of authorising this payment will receive email confirmation.
REJECTION
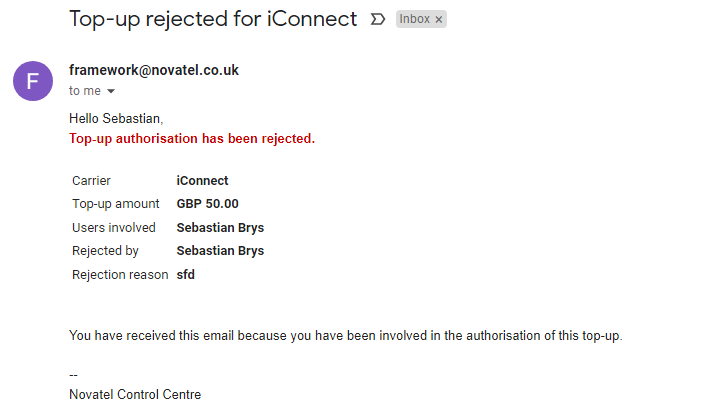
A top-up can be rejected at any authorisation level by any user having the privileges to authorise payments. If you reject a payment with the ‘Reject Top-up’ button, the icons will turn red and the payment status will show as ‘Rejected‘. When rejecting the top-up, you can add an optional comment. The comment will be displayed as the rejection reason.
After a top-up is rejected, no further authorisation of this top-up is possible.

When the top-up authorisation has been rejected, all users involved in this process will receive email notification.
LOG/HISTORY
An audit trail of authorisations/rejections is maintained and can be reviewed.
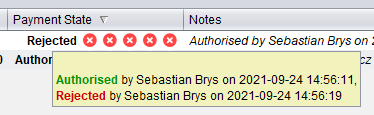
When you hover the mouse over a top-up payment state (or notes) column, it will show which users authorised or rejected the payment with the exact date/time of this operation.
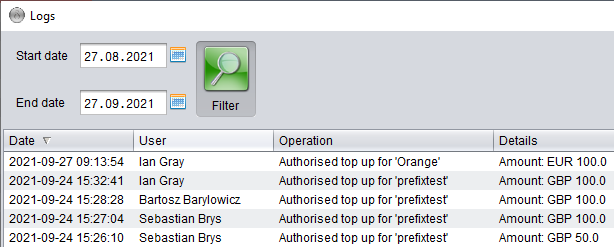
You can also search and summarise the authorisations/rejections.
To do so, push ‘View the log of changes’ button.

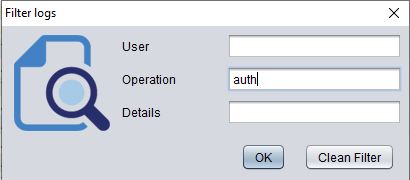
By default, it will show all operations related to Credit Management.
You can use the ‘Filter’ to search for certain operations – e.g. by putting ‘Authorised’ or ‘Rejected’ keywords in the ‘Operation’ text field or by using the ‘User’ text field to show only operation performed by a certain user.
ALERTS
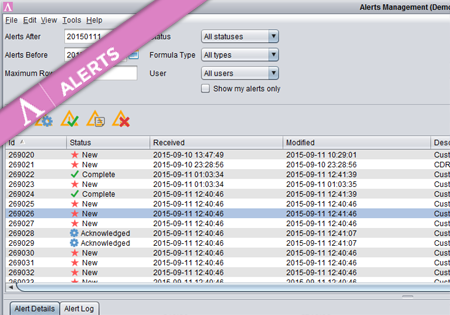
There is an alert type to detect Top-ups being in the ‘Pending’ state and requiring authorisation for a longer time than that specified in the alert. To configure such an alert, go to ‘Alert definition’ and create a new Alert of ‘Pending Payment Authorisation’ type.
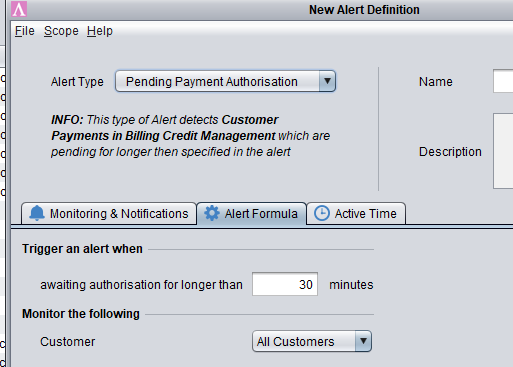
In the Alert Formula tab you can configure which customers should be monitored by this Alert and how long the top-up can be in the ‘Pending’ state before an alert is triggered. It is recommended to configure ‘Expiry type’ to ‘Once after expiry’. Then the next drop-down (‘Expire Alert After’) will determine when the particular alert (the issue detected for a certain customer) should expire and thus a new alert (another sms/email) can be emailed for the same customer.
To learn more about Alerts, click here: //support.novatel.co.uk/tag/alerts/
TIP:
You can have multiple alert definitions with a different set-up. E.g. different time periods (of the payment being pending) for different customers or separate alert definitions for groups of customers related to individual users (account managers) so that each user is alerted only about the customer they are responsible for.
AUTHORISATION PRIVILEGES
Certain User Groups are preconfigured by Novatel Support. Grating permission to a specific user requires only adding that user into a proper User Group. The group names indicate the level at which the user will be allowed to authorise the top-ups: e.g. ‘Billing 1st Level Authorisation’, ‘Billing 2nd Level Authorisation’ etc.
TIP:
The user can belong to multiple groups giving privileges to authorise top-ups at multiple levels. This allows you to configure a super-user who will be allowed to authorise the payment in case of somebody's absence or allows an administrator-user to authorise the top-up at all levels at one go.